
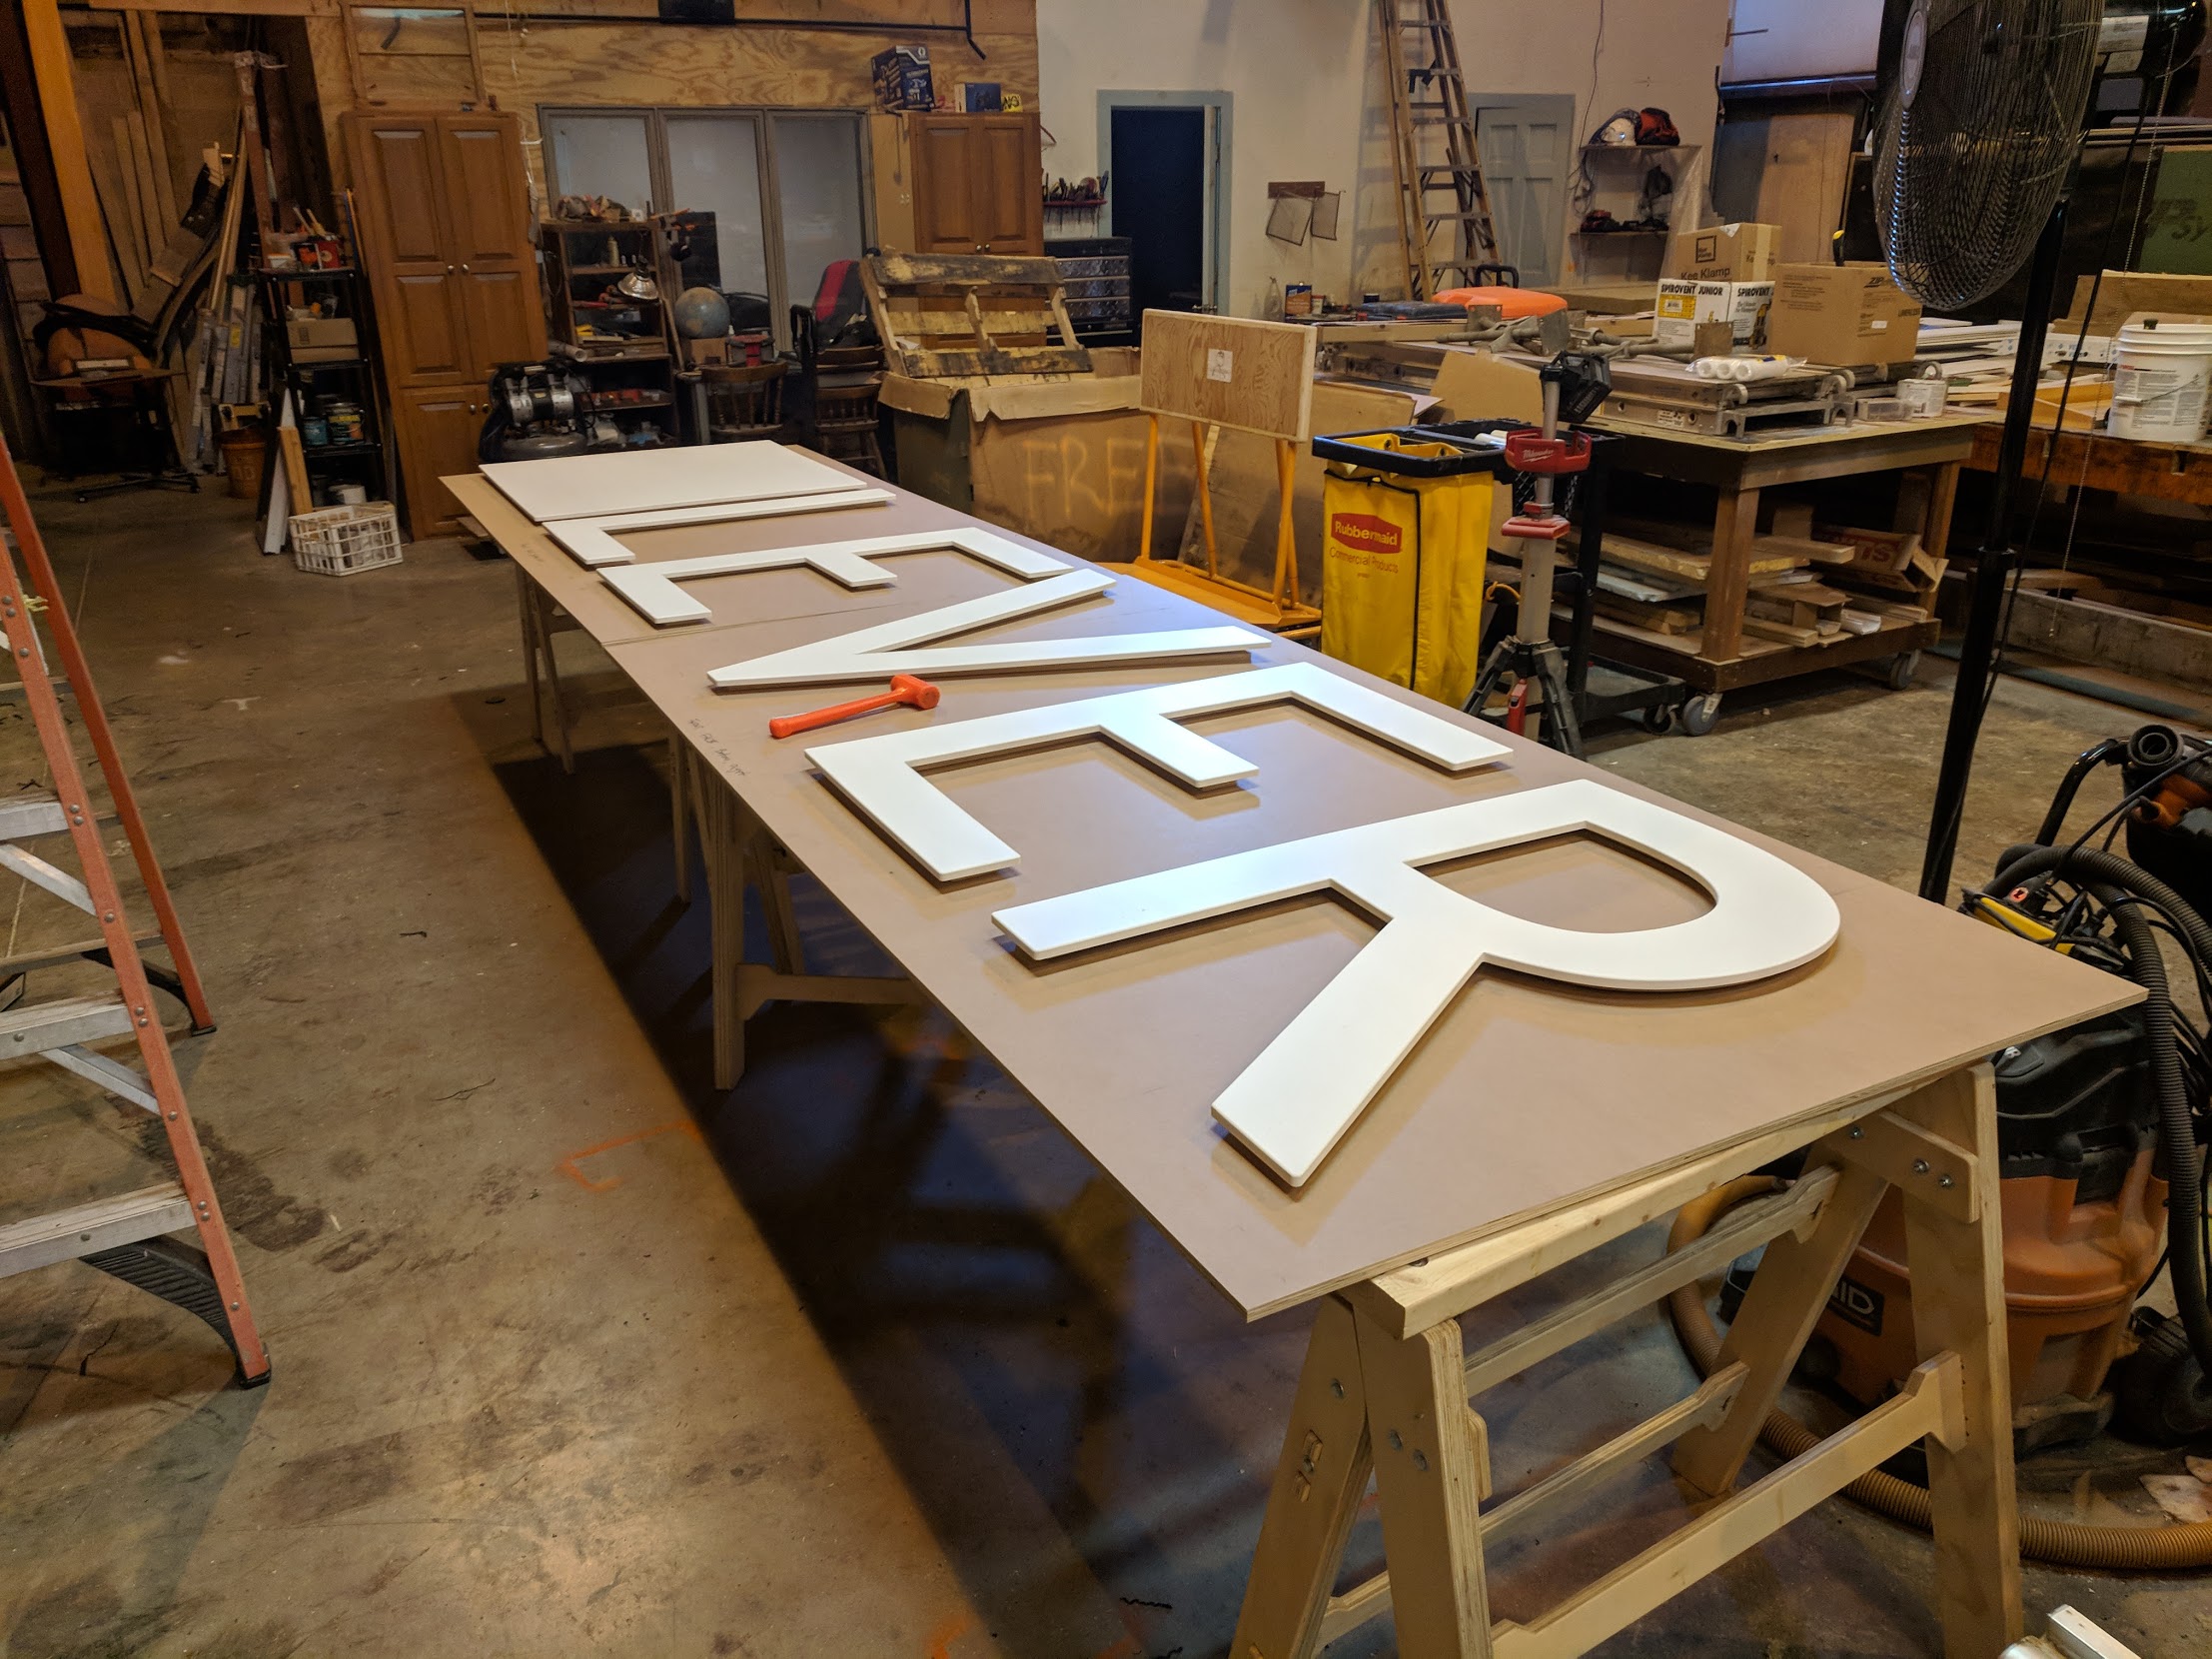
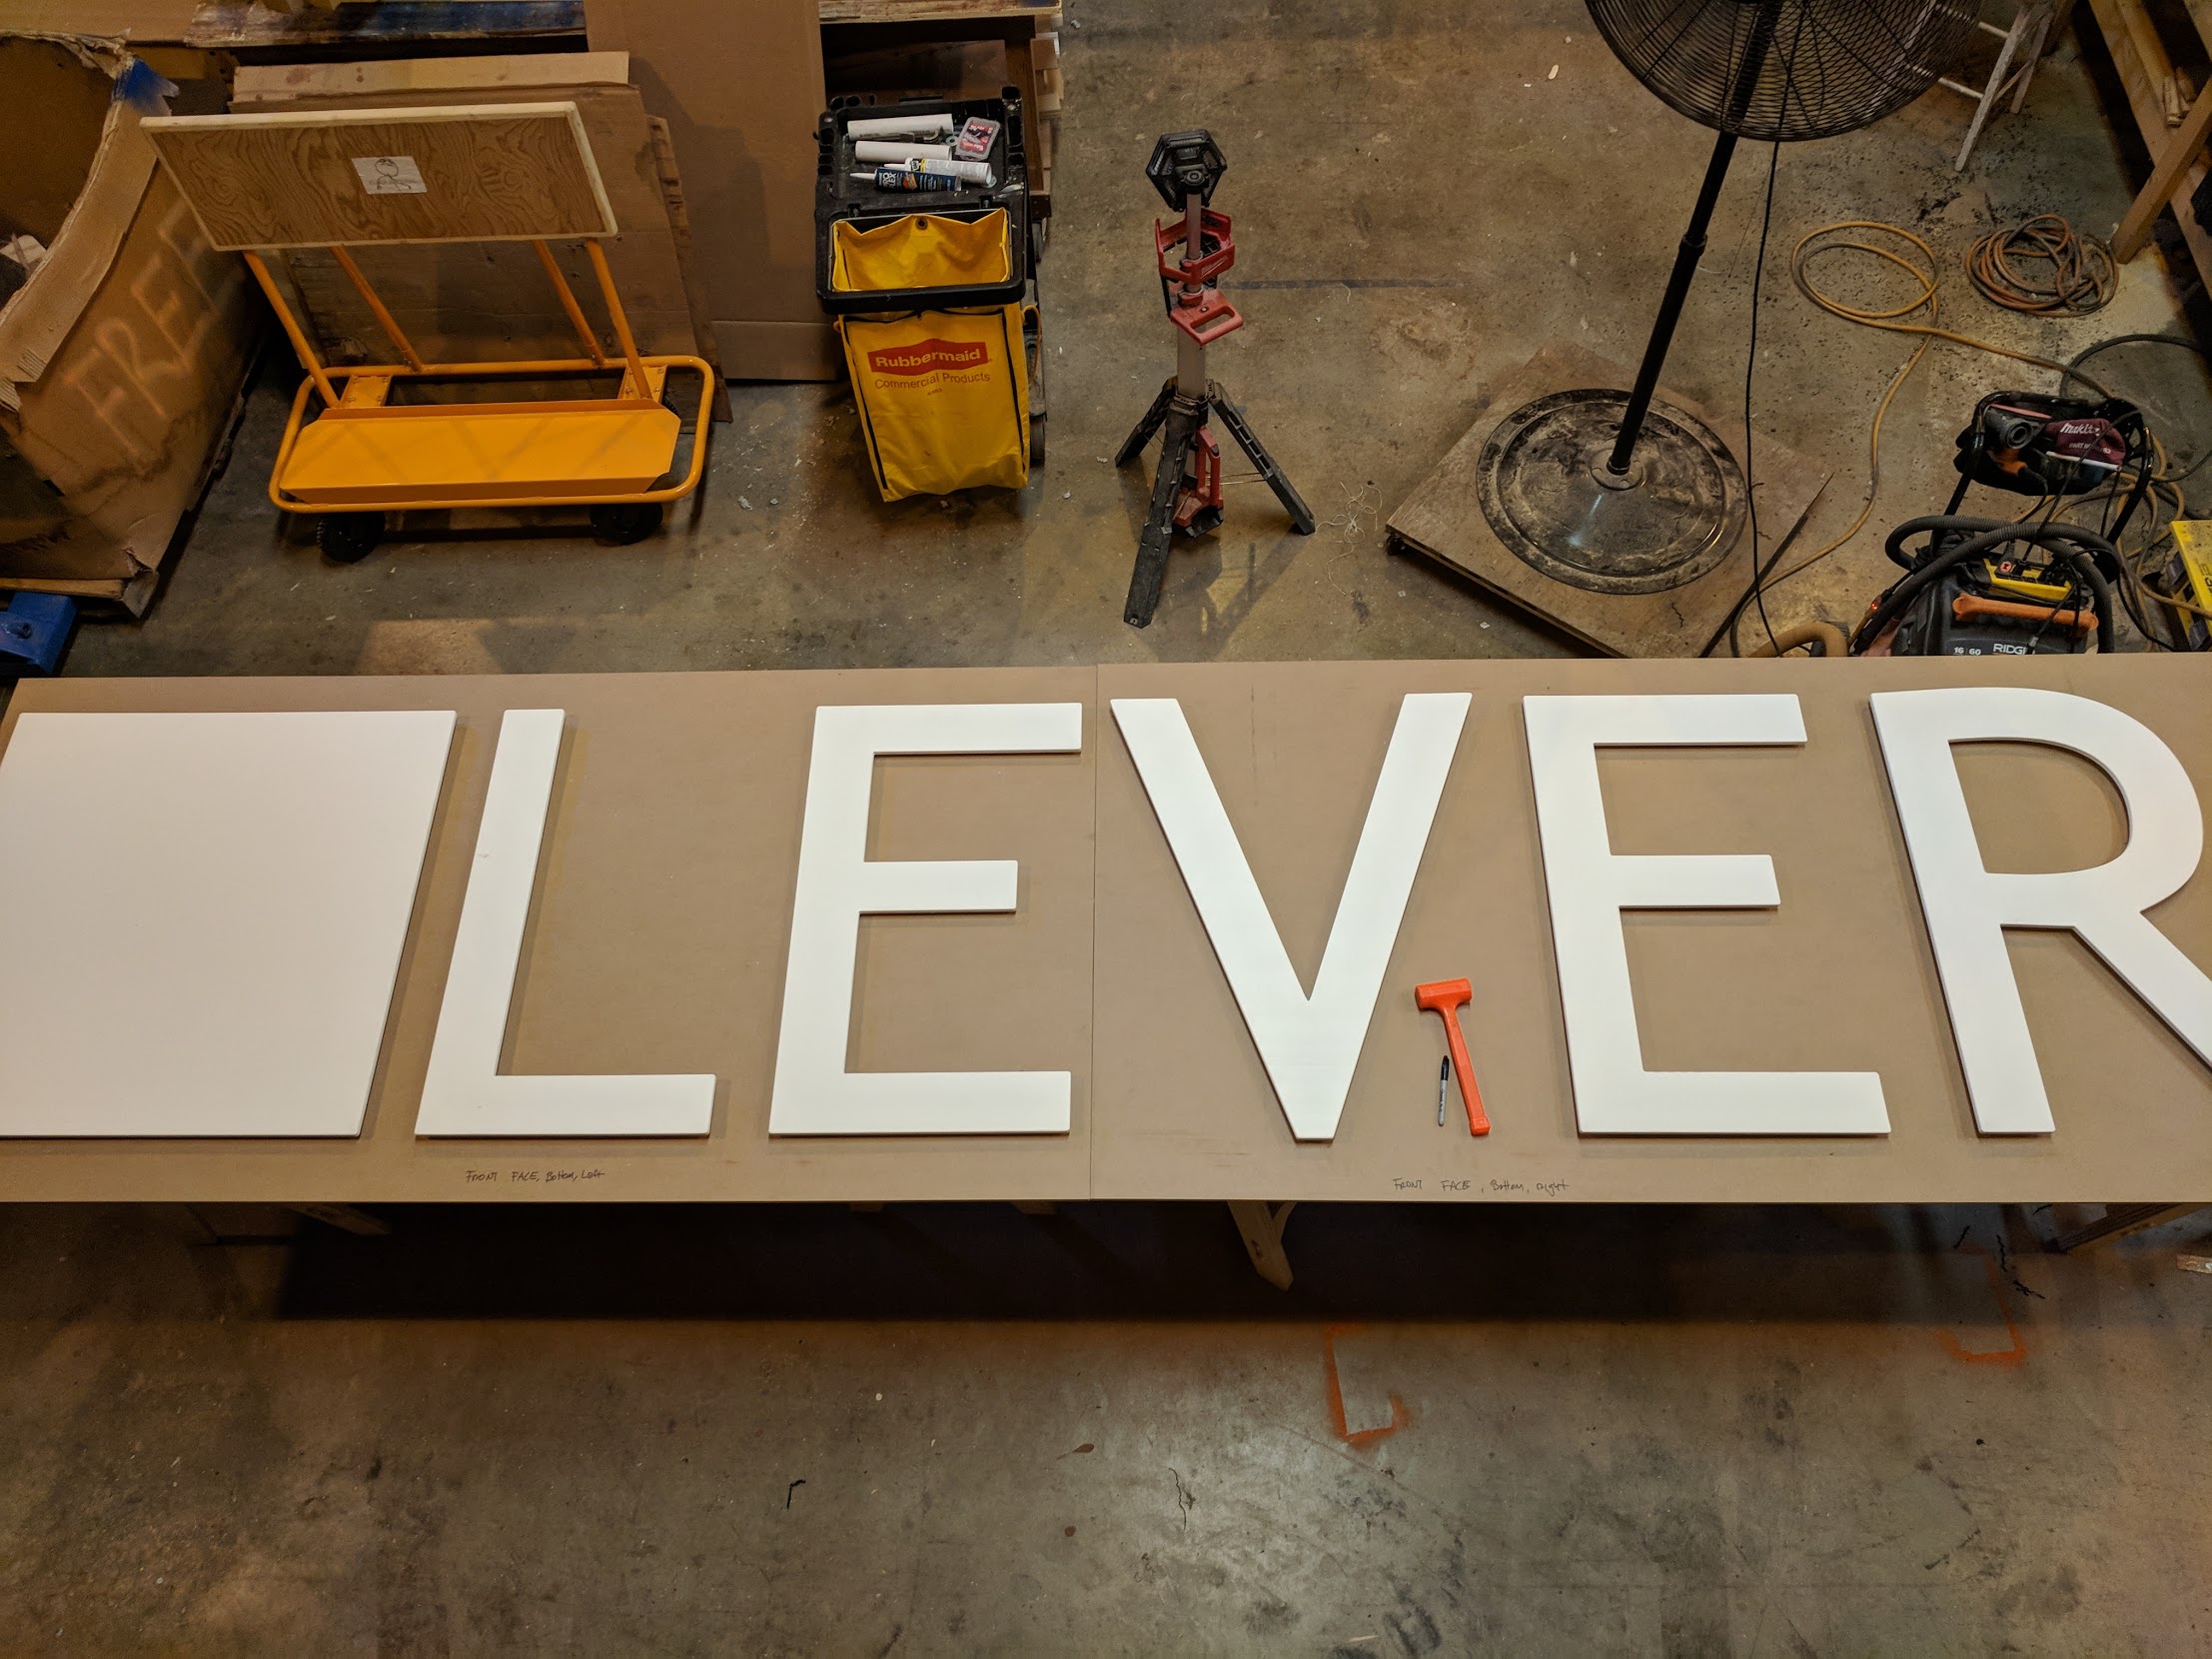
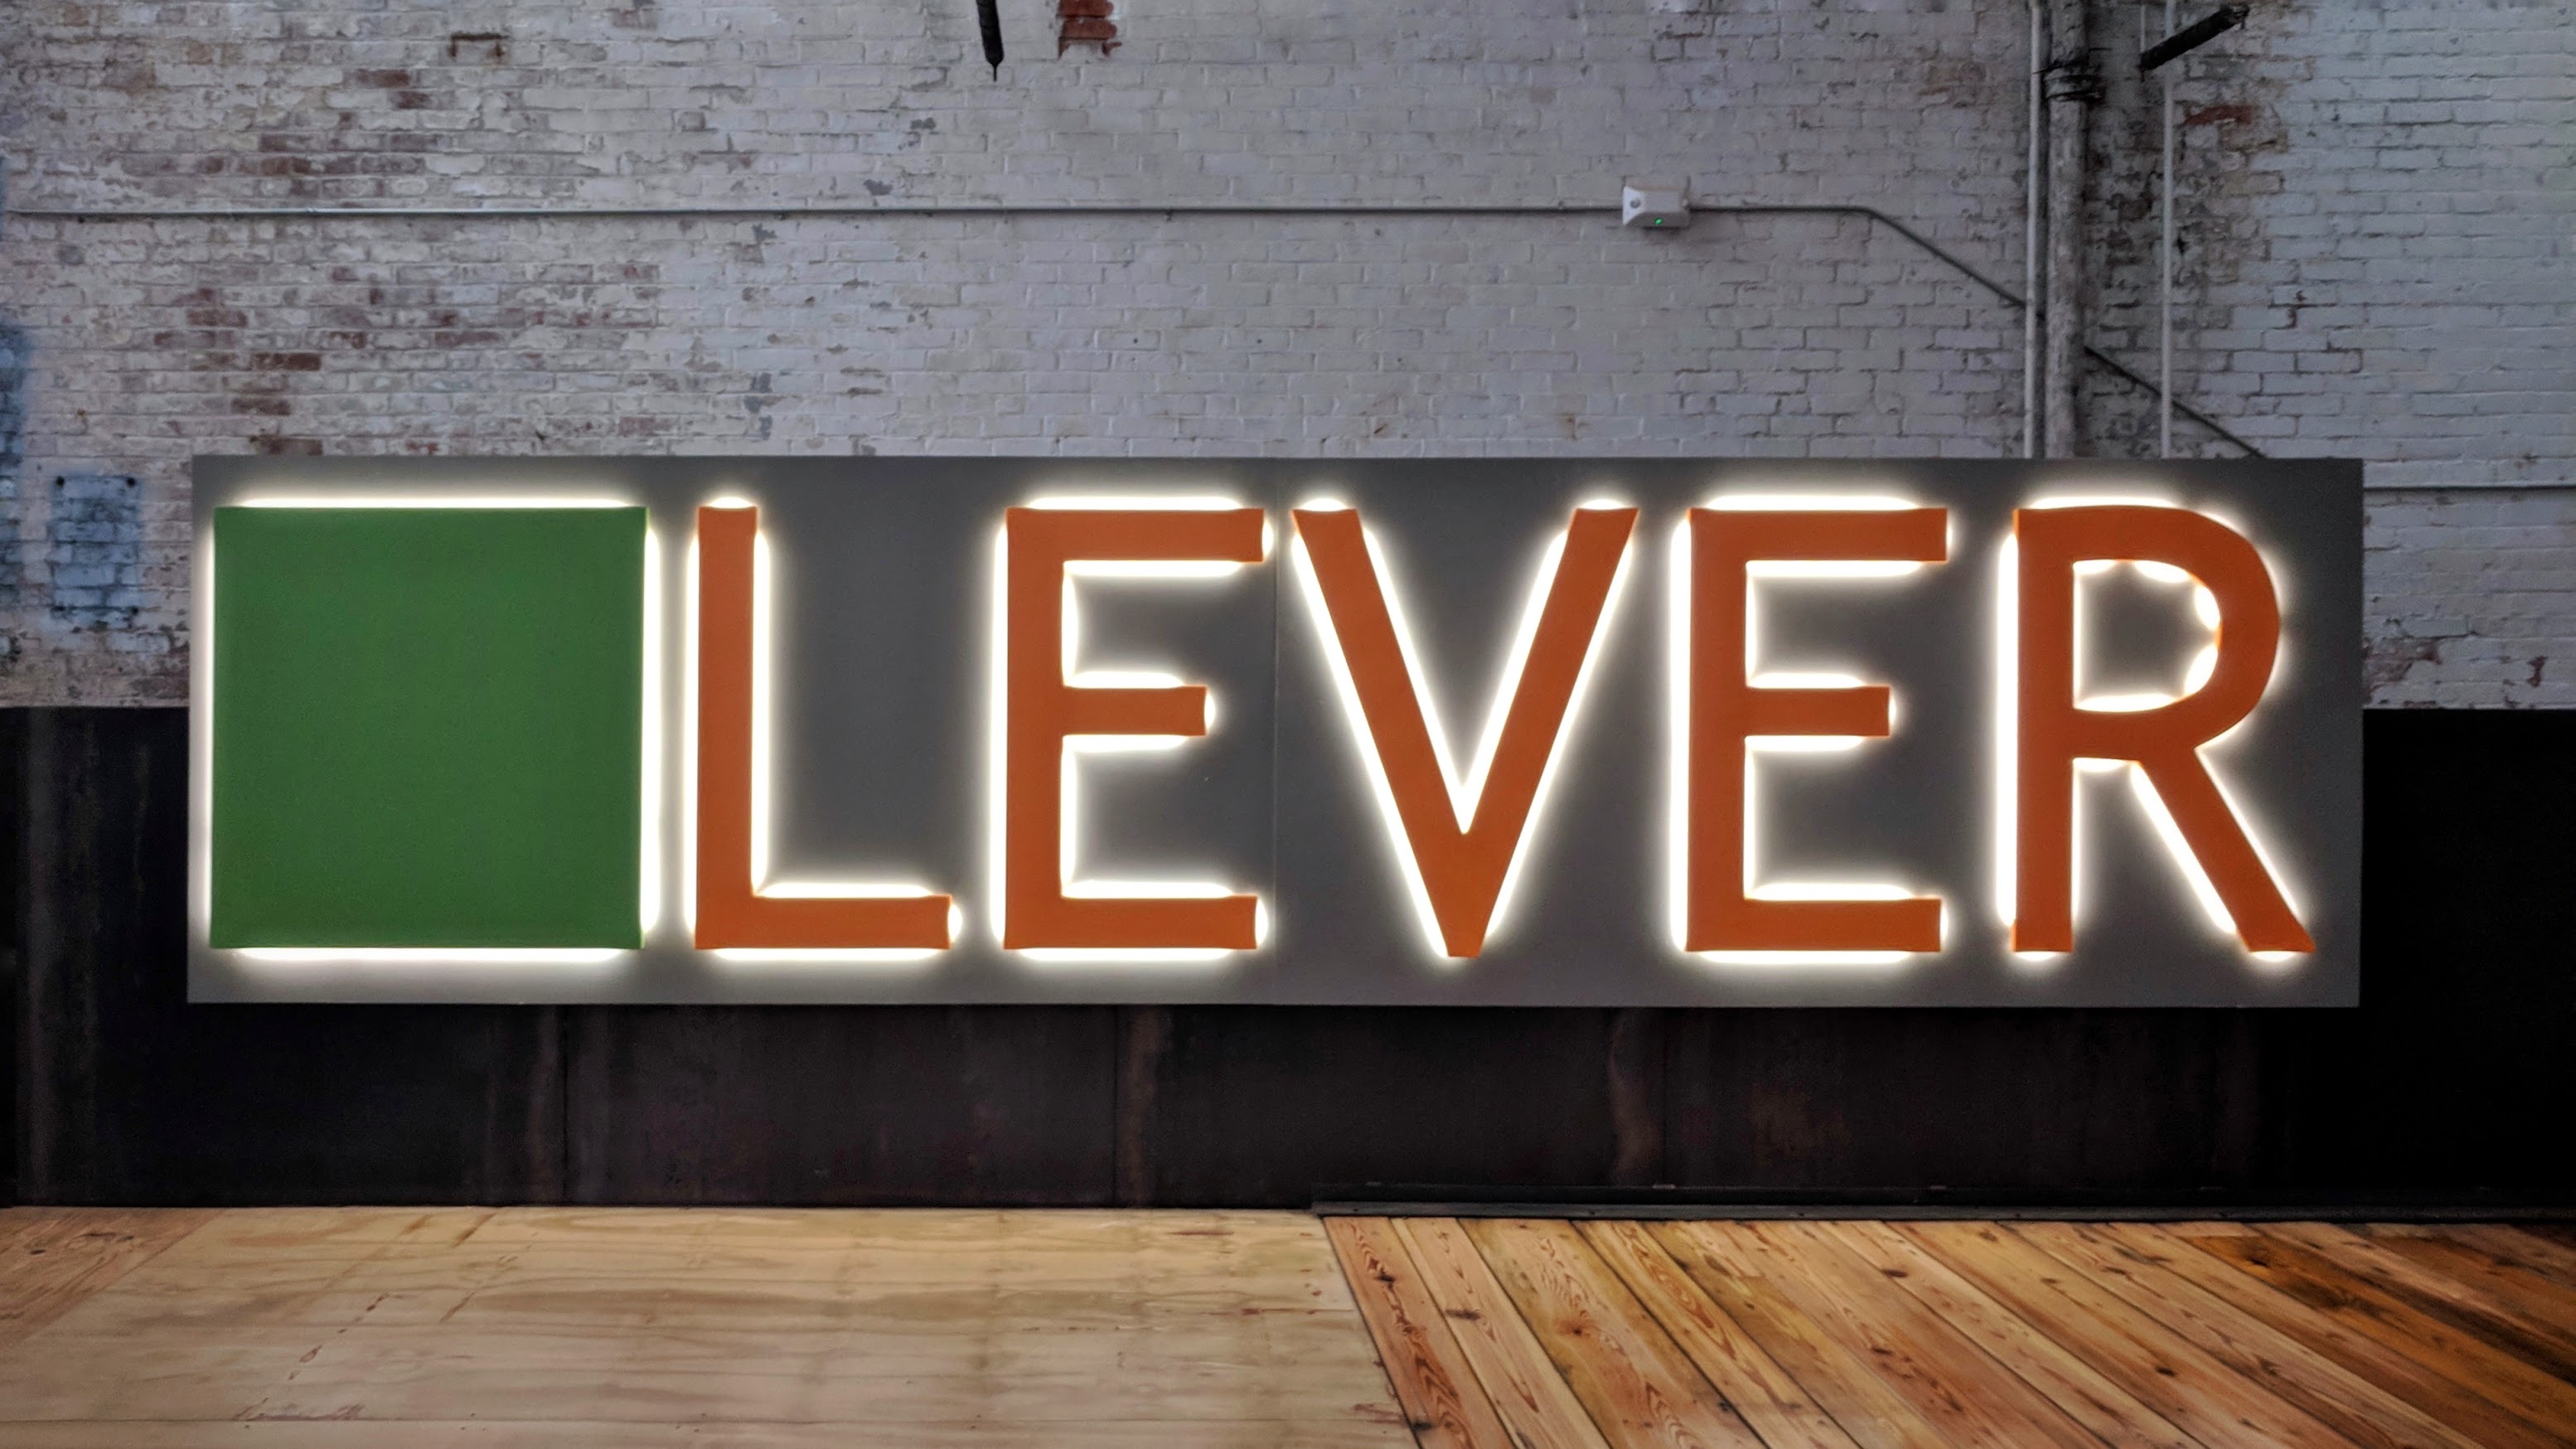
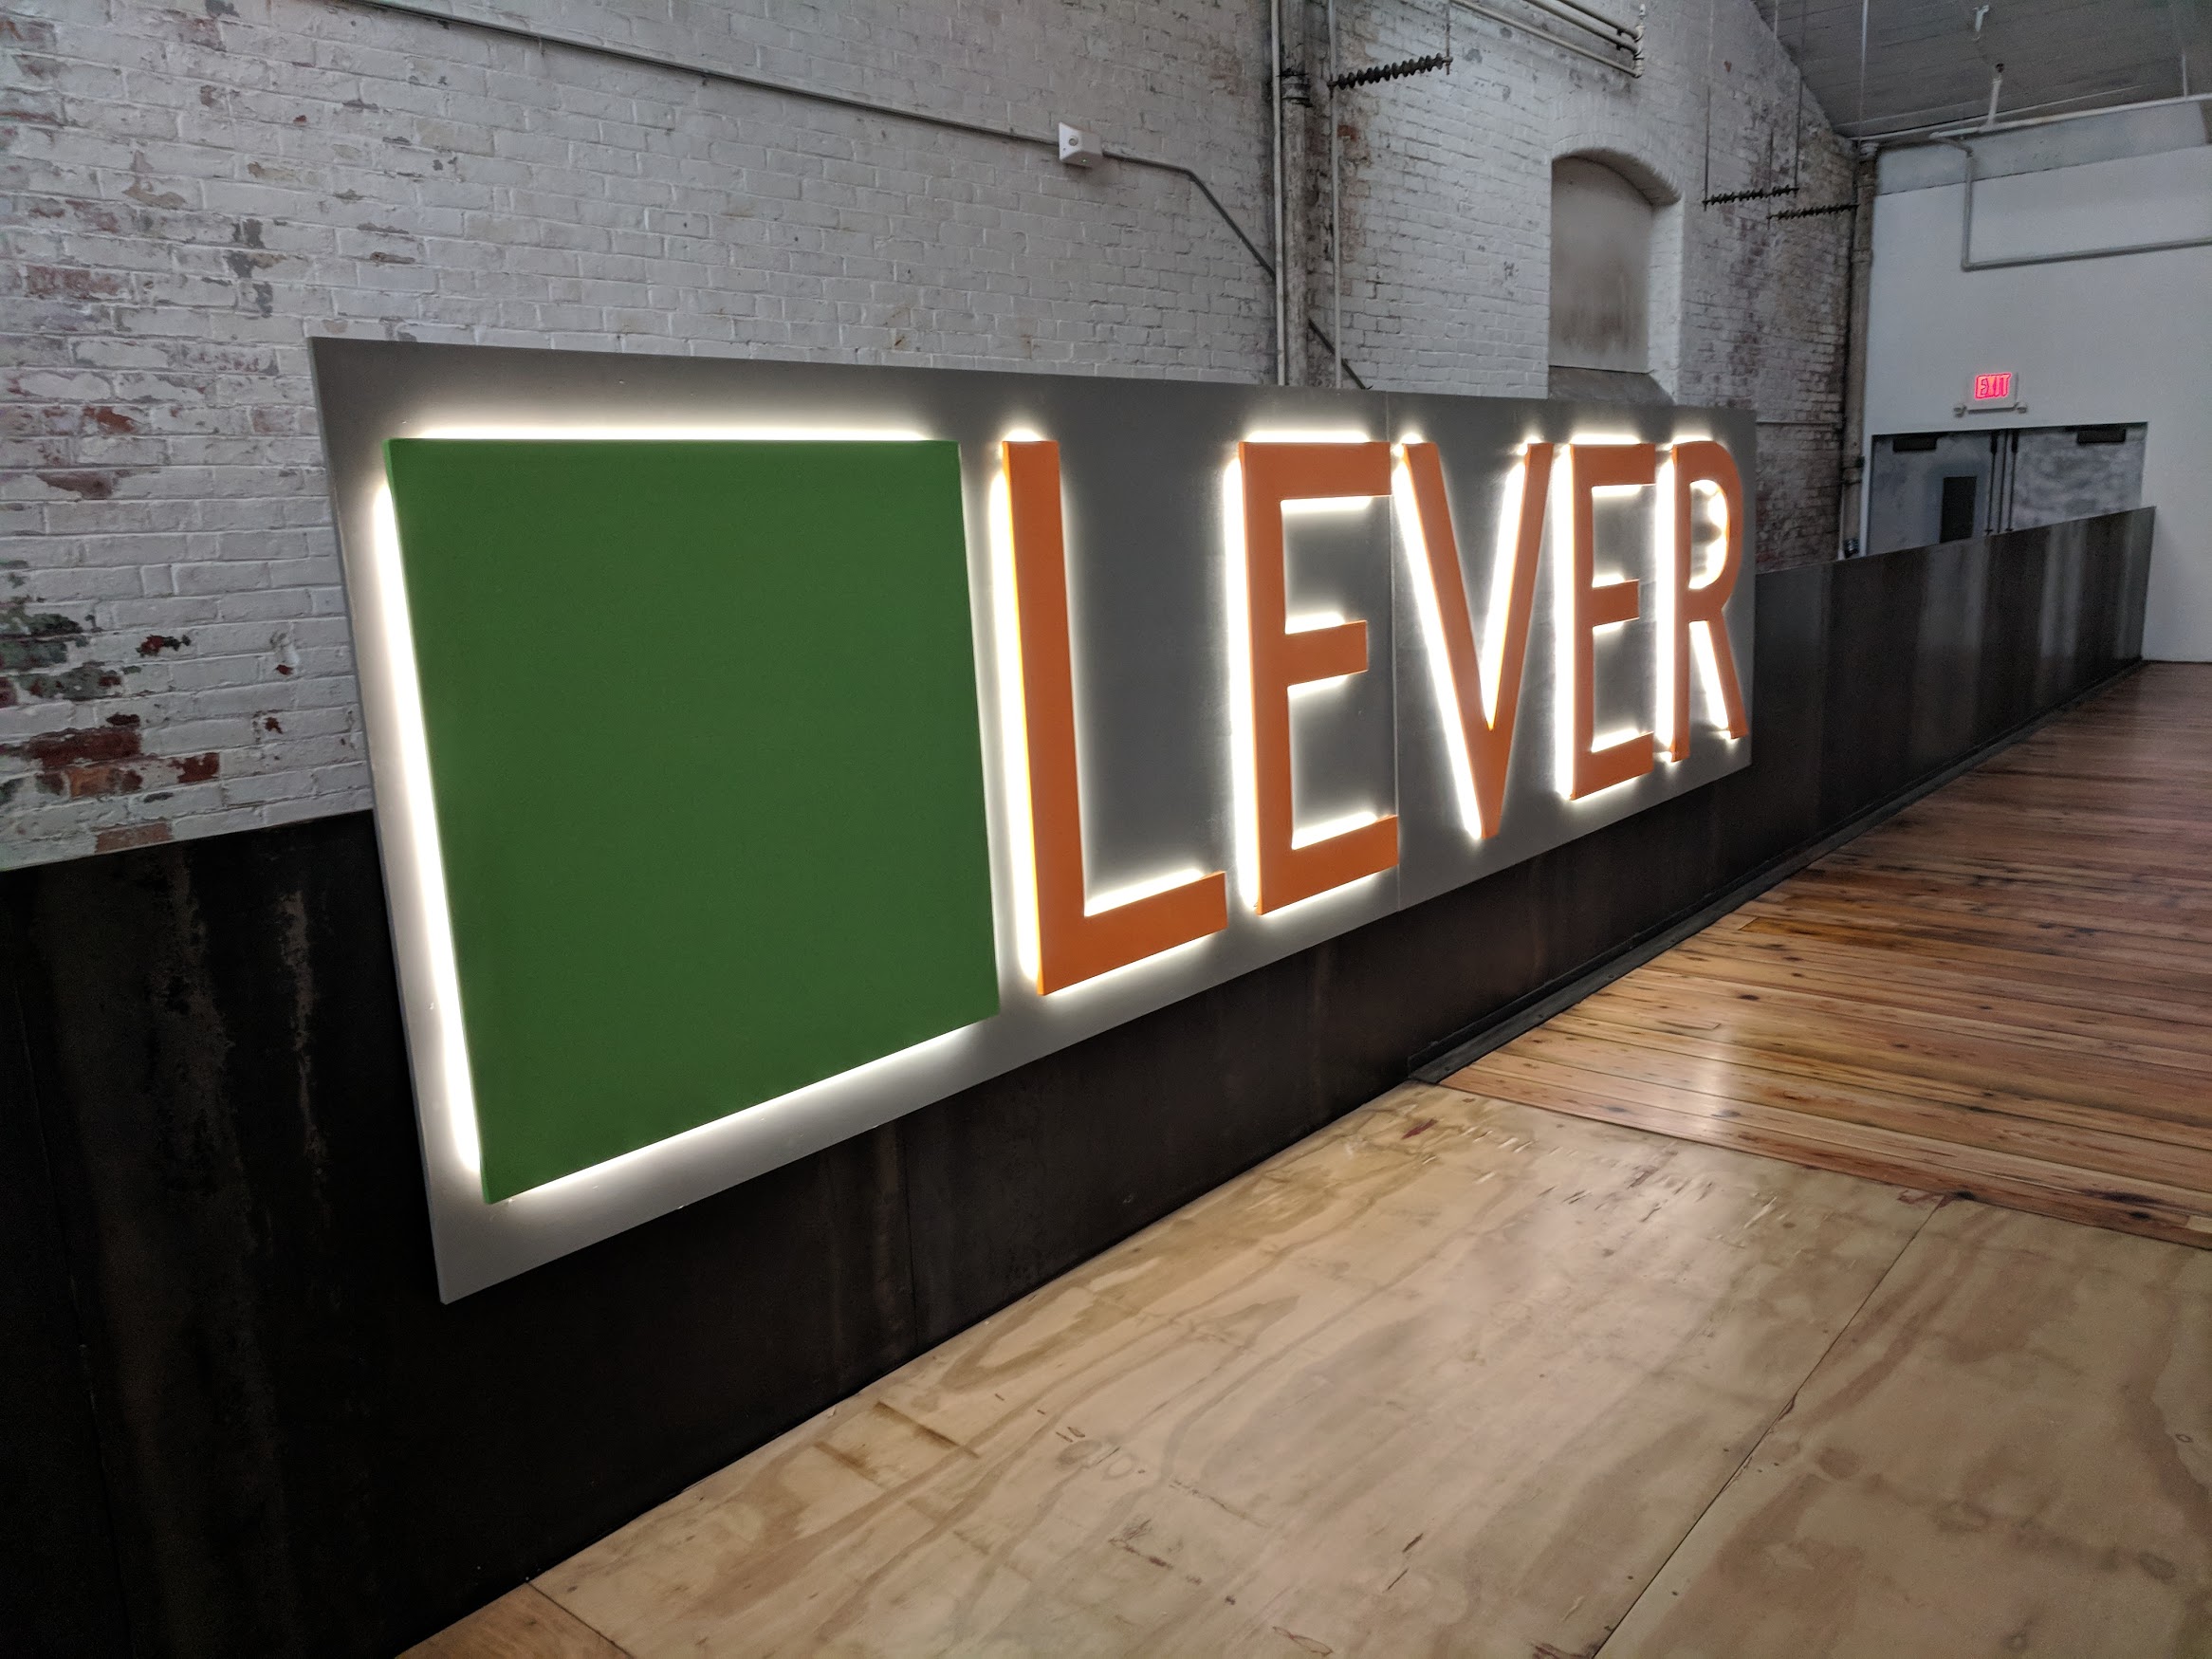
Hey everyone, I just made this sign using nothing but the Fabber plugin. It’s 16 feet long. It’ll be painted and have some LED back lighting
Looks great. Tell us a little more about how you did it, Shaper Origin or traditional CNC?
This was done on my big ShopBot. I started with this SketchUp model:
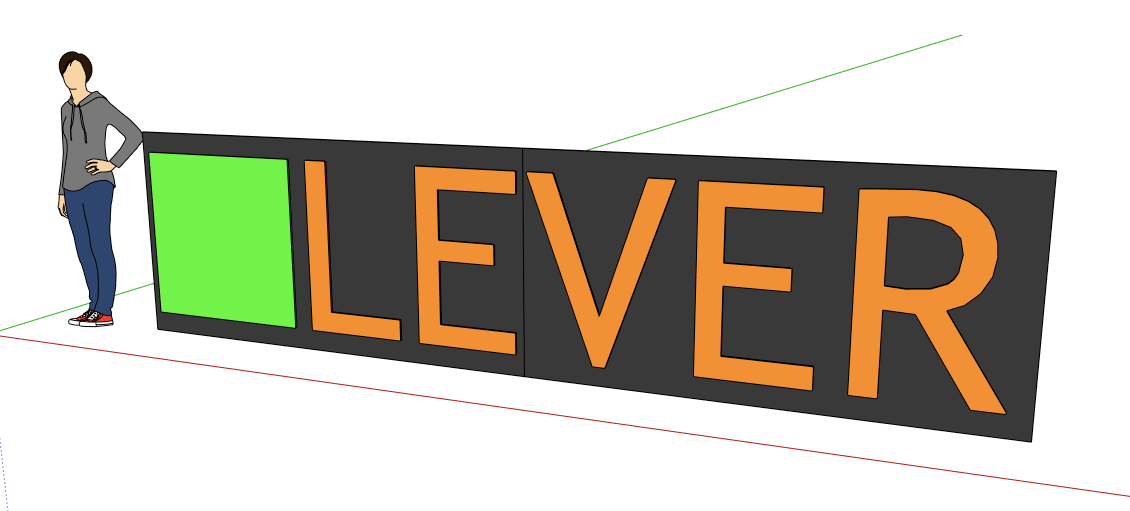
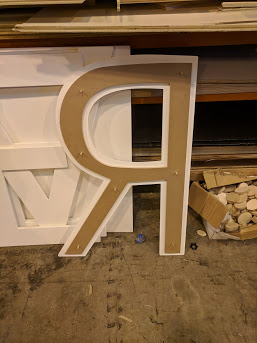
The PVC letters are spaced off of the back. There are partial depth dowel holes drilled into the letters, and full depth dowel holes drilled through the spacers and the back panel. This allowed for us to be able to paint the letters separately, stick on the LEDs, and and then fasten the letters to the back panel. Because the dowel holes were drilled by the CNC, the alignment was perfect
I worked on this design with the client, and when it was time to fabricate I made toolpaths right off of the SketchUp model. I was able to toss a sheet on the machine, cut the parts and move on to the next sheet with no delay as the toolpaths were generated on the fly with Fabber.,
Here’s the SketchUp model if you’re interested:
lever sign.skp (1.5 MB)
I am not that familiar with the Shopbot control software (I use Mach 3) but don’t you have to have G-code as an input and I thought Fabber only generated SVGs?
You use Aspire right @sehast?
If so, it’s the same workflow… You import the SVGs, run GetFabber in Aspire. I just use the ShopBot post processor which outputs SBP, you use a GCode post. For both of us the procedure is the same.
Ok, I thought there was some additional magic going on when you said on the fly. It is a great time saver in the CAM process.