
Hey all, here’s a quick demo I put together of doing some basic 3D sign carving using Fabber:
Boy this is right on time. I have another granddaughter having a birthday soon and was thinking that to make the next name plate it would be nice to change to this sort of style. Of course I had no idea how to do it but now I do.
Wood is on order and I’ll follow your example and have a file ready for once it gets here.
Thanks!
Ed
Let us know if you need any help with the file!
OK got a file ready and waiting for the wood to arrive, I hope on Monday.
I did have small problem that I was able to fix. The middle “A’s” in the sign lost the triangle. I did the copy and paste in place but still something didn’t work right. I was able to just raise that part up and rerun fabber. The issue must be with the way sketch up works sometimes??
Anyway hope to get the next sign done soon and see how I like how it looks.

Ed
Yeah, that copy/paste thing is a quirk in SketchUp. Sometimes you just need to re-draw over the top of one or more of the lines if it doesn’t take.
That file looks great! You’re doing this on a Shaper right?
Yes this is a shaper project. Curly Maple wood should arrive today but weather conditions might be an issue with me actually doing it today.
I’m going to turn a pen of the same wood so if I can’t work on the sign I can at least do that. Actually have another 10 pens to turn so I can keep busy with them for a while.
Now if you can invent a way to use sketchup and single line fonts with fabber I could skip learning any new software.
Ed
We can’t do single line fonts because they don’t make a face unfortunately. I’ve done them before and they’re a pain to use even in Illustrator too unfortunately. One trick you could do is a 3D font in SketchUp and just run a small bit as a pocket toolpath. It’s still not going to be as fast as a single line, but if you pick your font/bit right it shouldn’t be too bad.
I have two signs in progress and though I might show how the progress is going on one of them.

Still needs cutting to length and sanding followed by some sort of finish. The wood was label Black Mesquite, not sure of the black part of the name but what ever it was nice to work with so far.
I was able to get enough wood for 4 pens plus what scrap I will have when I trim the sign so might have enough for some other small project.
Ed
Dude!! That’s awesome!!
Do you have a lathe for pen turning?
I have 6 shopsmiths so I have 6 lathes…
So both of the signs I have been working on are waiting for the finish to dry. They went through the cutting to size, sanding and finishing.
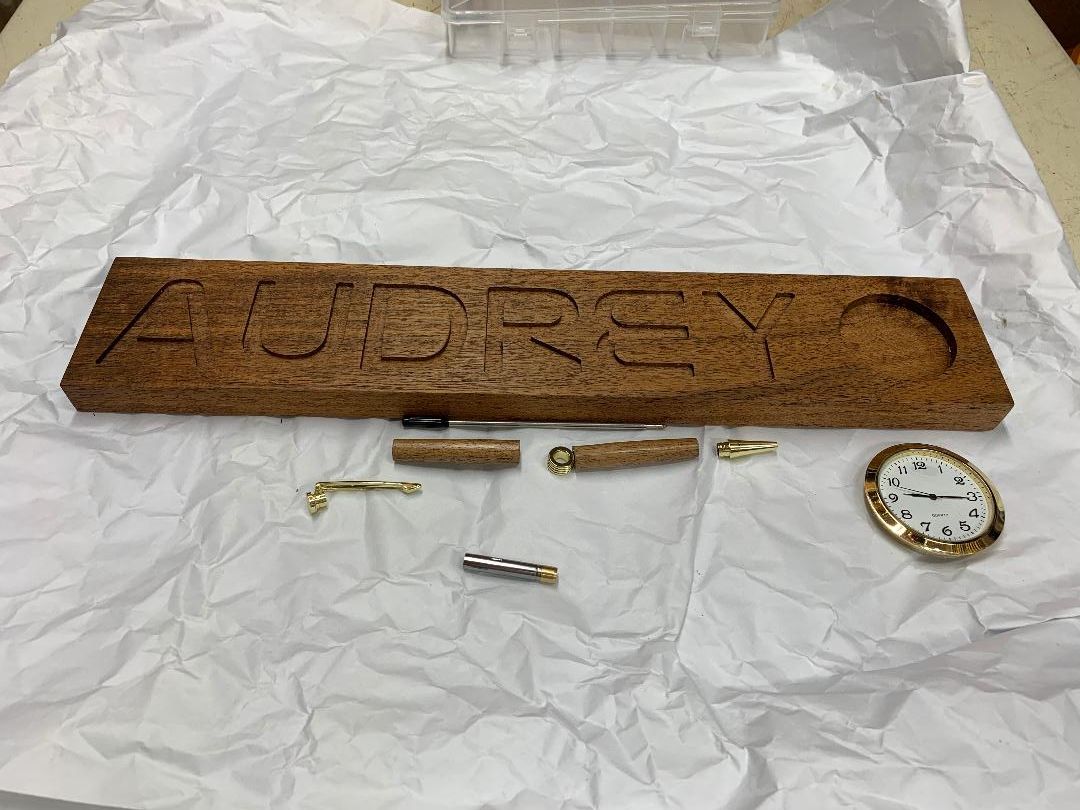
Pens are turned and waiting on me to assemble them, pictured is the matching pen for this sign.
The other sign had to wait on me to finish cutting the hearts which I did today.
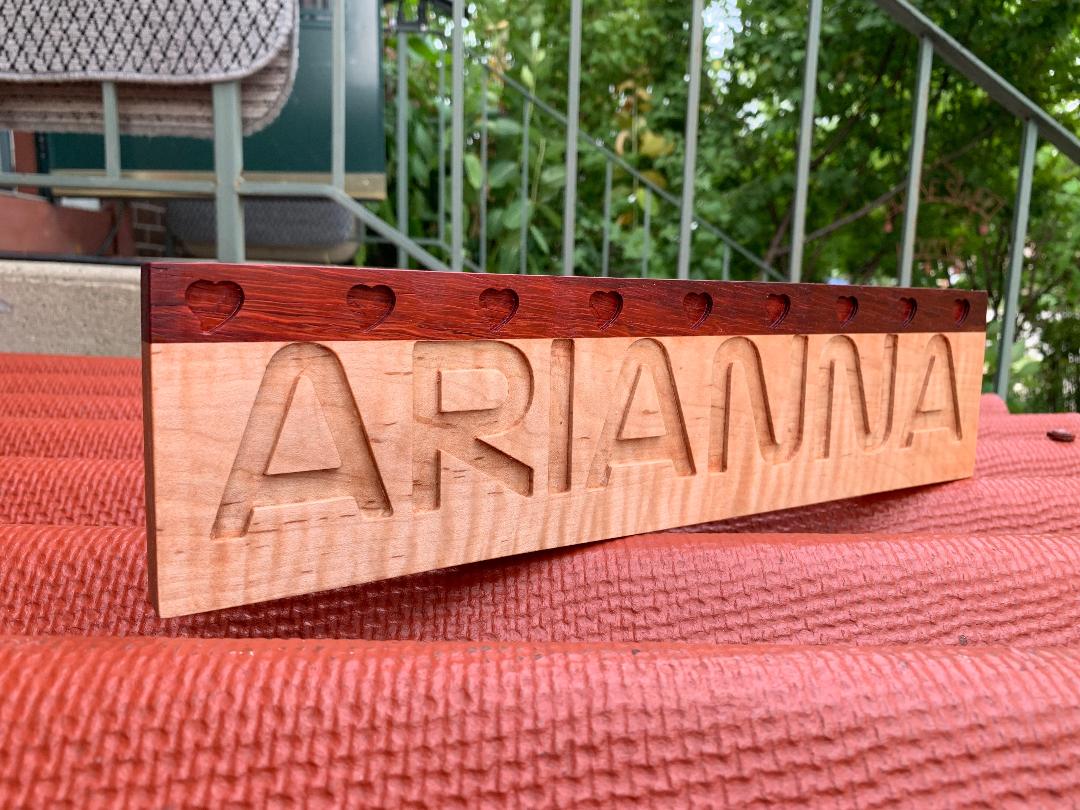
The hearts are Webdings Y, can’t wait to try some of the others in that collection.
Ed
I forgot about the ShopSmiths… That’s… a lot of them! They do seem to make a really great lathes!
Also, your signs are awesome!
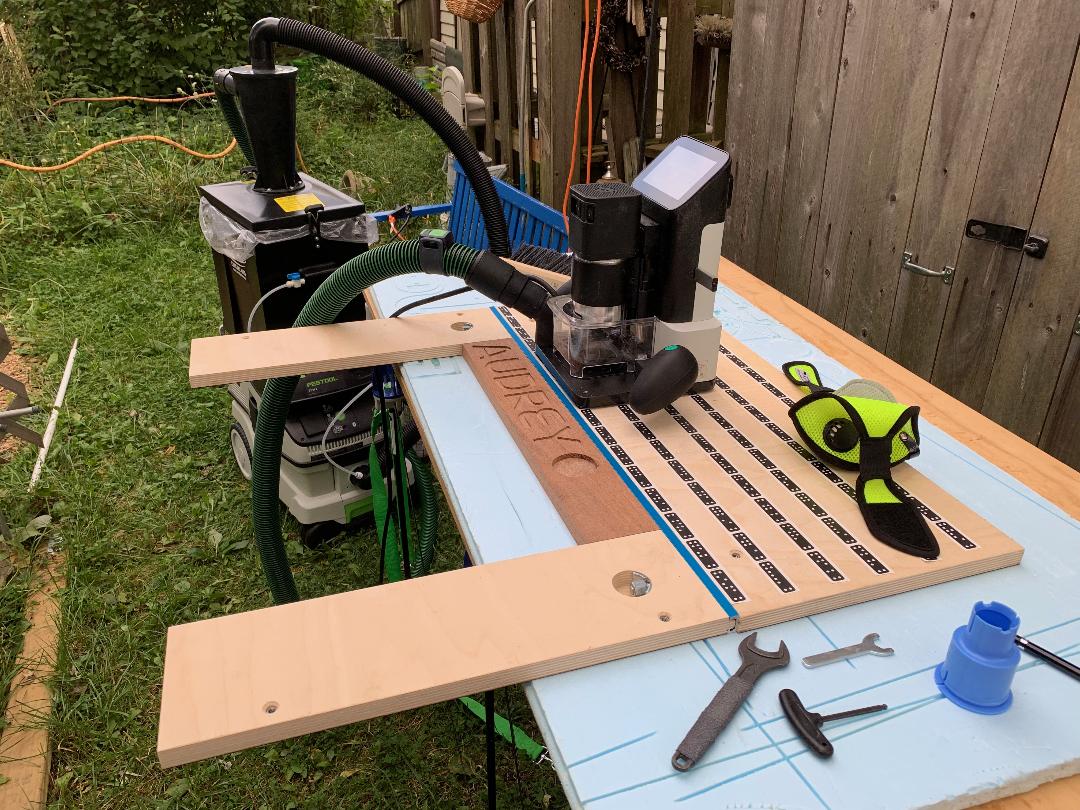
How did you clamp the board in place? I can’t really tell from the picture…
I have a clamping setup that has the tape attached and the two “arms” are adjustable to capture the piece and I normally stick some double sided tape down to make sure it doesn’t move. The jig was done so that 3/4" material that is really 3/4" fits flat. This was done using a laminate attached to the plywood. So if using plywood for a work piece you need to space it up the thickness of the laminate, things that are taller are adjusted by either using shims or if they are a bit taller then that then there are elevator bolts that will raise the jig.
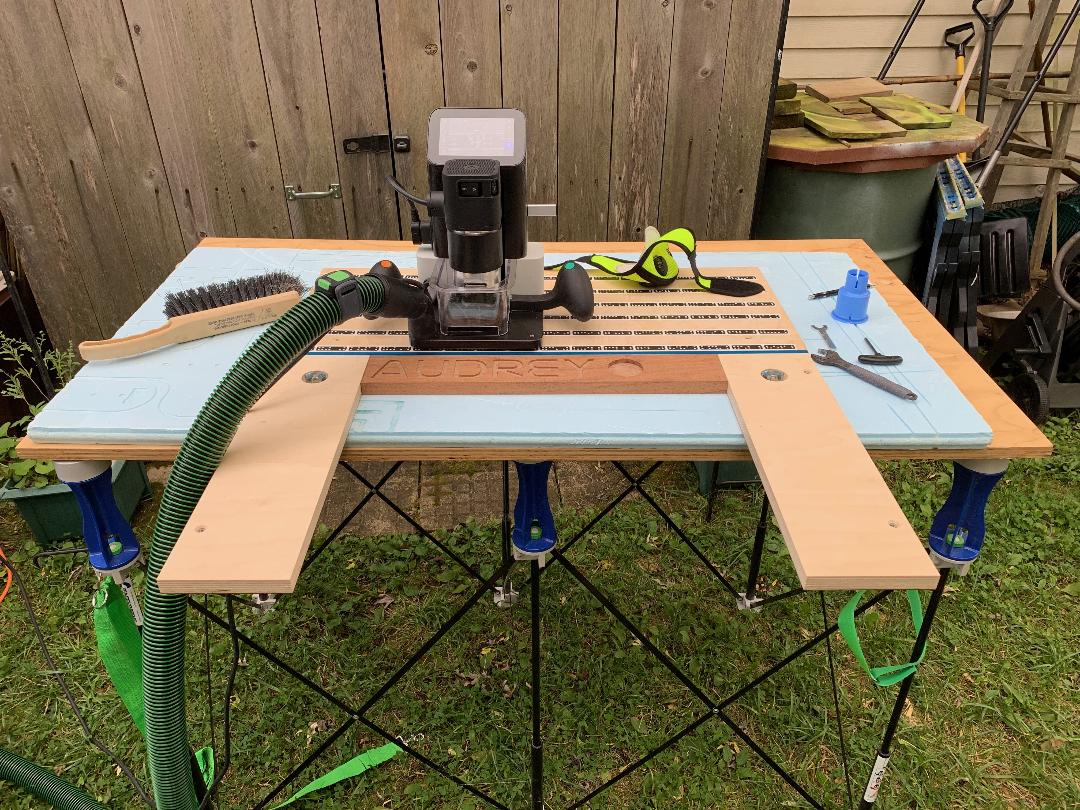
I don’t use it for everything. The edges and the where the t-track mounts have to be protected if the cuts exceed the width of the material. It will work for things in the 20" wide range and you can also bring the arms in closer and work on smaller things by spanning the SO across them. It has been working great on these signs.
Ed